Contents

Linux Dockerfile build时请求超时的问题解决

Linux服务器上,使用Dockerfile build镜像拉取各种依赖时, 总会碰到因为要请求被墙的网址导致build error, 辣么怎么解决呢, 本文提供一整套问题解决方案。解决方案将包括v2ray的server与client的搭建和使用, Linux代理请求以及最后实现Dockerfile打包镜像时可以翻墙。

前言

因为最近服务都是在centos7.4上部署, 在其他版本上的差异性自己解决, 我这里给思路和一个反正的范例。

解决方案将包括v2ray的server与client的搭建和使用, Linux代理请求以及最后实现Dockerfile打包镜像时可以翻墙。

Centos v2ray的server与client的搭建和使用

v2ray server的搭建

 1
 2
 3
 4
 5
 6
 7
 8
 9
10
11
12
13
14
15
16
17
18
19
20
21
22
23
24
25
26
27
28
29
30
31
32
33
34
35
36
37
38
39
40
41
42
43
44
45
46
47
48
49
50
51
52
53
54
55
56
57
58
59
60
61
62
63
64
65
66
67
68
69
70
71
72
73
74
75
76
77
78
79
mkdir /etc/v2ray
touch /etc/v2ray/config.json
echo '{
  "log": {
    "access": "/var/log/v2ray/access.log",
    "error": "/var/log/v2ray/error.log",
    "loglevel": "warning"
  },
  "dns": {},
  "stats": {},
  "inbounds": [
    {
      "port": 80,
      "protocol": "vmess",
      "settings": {
        "clients": [
          {
            "id": "81009efb-f8e5-4fd0-84cc-5976599e88ae", # 这里随机设置自己的
            "level": 0, # 这里设置的多少, 在客户端也要设置
            "alterId": 100 # 这里要与客户端对照
          }
        ]
      },
      "tag": "in-0",
      "streamSettings": {
        "network": "tcp",    # 注意这里, 你可以选择ws
        "security": "none",  # 客户端要和这里一直
        "tcpSettings": {
        "header": {          # 这个header有些客户端需要手动配置, 都是要和客户端一一对应的, 不然不会通
            "type": "http",
            "host": [
                "www.baidu.com"
            ]
        }}
      }
    }
  ],
  "outbounds": [
    {
      "tag": "direct",
      "protocol": "freedom",
      "settings": {}
    },
    {
      "tag": "blocked",
      "protocol": "blackhole",
      "settings": {}
    }
  ],
  "routing": {
    "domainStrategy": "AsIs",
    "rules": [
      {
        "type": "field",
        "ip": [
          "geoip:private"
        ],
        "outboundTag": "blocked"
      }
    ]
  },
  "policy": {},
  "reverse": {},
  "transport": {}
}' >> /etc/v2ray/config.json


# 设置系统时区为上海 
timedatectl set-timezone Asia/Shanghai


docker run --name=v2ray  \
  -p 8888:80  \
  -v /etc/v2ray/config.json:/etc/v2ray/config.json  \
  -v /var/log/v2ray:/var/log/v2ray \
  -v /etc/localtime:/etc/localtime:ro \
  -itd v2ray/official:latest

docker ps -a |grep v2ray

在server端, config.json配置重点在inbounds。

/etc/localtime:/etc/localtime:ro是同步时区到容器内, 如果在确定客户端与服务端的配置参数相同的情况下,还是请求不通, 那大概率是容器里的系统时间与你客户端的时间不同造成的。

-p即是宿主机与容器的端口映射, 8888是宿主机端口,80是容器端口, 要保证宿主机的8888端口可以访问。

v2ray client的搭建

  1
  2
  3
  4
  5
  6
  7
  8
  9
 10
 11
 12
 13
 14
 15
 16
 17
 18
 19
 20
 21
 22
 23
 24
 25
 26
 27
 28
 29
 30
 31
 32
 33
 34
 35
 36
 37
 38
 39
 40
 41
 42
 43
 44
 45
 46
 47
 48
 49
 50
 51
 52
 53
 54
 55
 56
 57
 58
 59
 60
 61
 62
 63
 64
 65
 66
 67
 68
 69
 70
 71
 72
 73
 74
 75
 76
 77
 78
 79
 80
 81
 82
 83
 84
 85
 86
 87
 88
 89
 90
 91
 92
 93
 94
 95
 96
 97
 98
 99
100
101
102
103
104
105
106
107
108
109
110
111
112
113
114
115
116
117
118
119
120
121
122
123
124
125
126
127
mkdir /etc/v2ray
mkdir ~/.docker
touch ~/.docker/config.json
touch /etc/v2ray/config.json
echo '{
  "dns": {
    "hosts": {
      "domain:googleapis.cn": "googleapis.com"
    },
    "servers": [
      "1.1.1.1"
    ]
  },
  "inbounds": [
    {
      "listen": "0.0.0.0",
      "port": 10808,
      "protocol": "socks",
      "settings": {
        "auth": "noauth", 
        "udp": true
      },
      "sniffing": {
        "destOverride": [
          "http",
          "tls"
        ],
        "enabled": true
      },
      "tag": "socks"
    },
    {
      "listen": "0.0.0.0",
      "port": 10809,
      "protocol": "http",
      "settings": {
        "userLevel": 0
      },
      "tag": "http"
    }
  ],
  "log": {
    "loglevel": "warning",
    "access":"/var/log/v2ray/access.log",
    "error":"/var/log/v2ray/error.log"
  },
  "outbounds": [
    {
    //此处根据具体设置
      "mux": {
        "concurrency": -1,
        "enabled": false
      },
      "protocol": "vmess",
      "settings": {
        "vnext": [
          {
          //此处根据具体设置
            "address": "服务端IP地址",
            "port": 8888,
            "users": [
              {
                "alterId": 100,
                "id": "81009efb-f8e5-4fd0-84cc-5976599e88ae",  # 客户端与服务端要一直
                //"level": 0,
                "security": "none"
              }
            ]
          }
        ]
      },
      "streamSettings": {
        "tcpSettings": {
          "header": {
            "type": "http"
          }
        }
      },
      "tag": "proxy"
    },
    {
      "protocol": "freedom",
      "settings": {},
      "tag": "direct"
    },
    {
      "protocol": "blackhole",
      "settings": {
        "response": {
          "type": "http"
        }
      },
      "tag": "block"
    }
  ],
  "policy": {
    "levels": {
      "8": {
        "connIdle": 300,
        "downlinkOnly": 1,
        "handshake": 4,
        "uplinkOnly": 1
      }
    },
    "system": {
      "statsOutboundUplink": true,
      "statsOutboundDownlink": true
    }
  },
  "routing": {
    "domainStrategy": "IPIfNonMatch",
    "rules": []
  },
  "stats": {}
}' >> /etc/v2ray/config.json

# 设置系统时区为上海 
timedatectl set-timezone Asia/Shanghai

docker run --name=v2ray \
 -p 10808:10808 -p 10809:10809  -p 8888:80 \
 -v /etc/v2ray/config.json:/etc/v2ray/config.json  \
 -v /var/log/v2ray:/var/log/v2ray \
 -v /etc/localtime:/etc/localtime:ro \
 -itd v2ray/official:latest

docker ps -a |grep v2ray

Linux代理设置

在Linux中,没有一种代理配置是配置后可以一劳永逸的,目前碰到三个代理配置, 分别对应如下

  • Linux的代理配置
    • 在.bashrc或者.zshrc等其他shell中配置, 大部分宿主机的请求都会走代理
    • 通过proxychains强制没有走代理的软件走代理
  • docker build镜像时, 以上两个都不起作用,
    • 需要在.docker中做配置才可以
    • 在.docker配置了代理后, 拉取的依赖有时会执行git, 如果文件很大,也会timeout, 这时就需要再dockerfile中强制git config

·以下是详细的配置, 结合上面的说明应该能明白, 不能明白就谷歌·。 如果你是想解决docker build镜像的问题, 那就不用做宿主机的配置, 直接看《docker走代理》

宿主机设置

Shell中配置,以bash为例

1
2
3
4
echo 'export ALL_PROXY="socks5://127.0.0.1:10808"
export http_proxy="http://127.0.0.1:10809"' >> ~/.bashrc 

source ~/.bashrc

proxychains的安装与使用

1
2
3
4
5
6
7
8
9
git clone https://github.com/rofl0r/proxychains-ng.git
cd proxychains-ng
./configure --prefix=/usr --sysconfdir=/etc
make && make install
make install-config
cd .. && rm -rf proxychains-ng
vim /etc/proxychains.conf  #修改配置文件
socks5  127.0.0.1 1080  #ip和port改成自己的ip和端口
proxychains4 wget http://xxx.com/xxx.zip   #在需要代理的命令前加上proxychains4

proxychains安装如果出现问题,请自行谷歌。

docker走代理

在宿主机执行

 1
 2
 3
 4
 5
 6
 7
 8
 9
10
11
echo '{
 "proxies":
 {
   "default":
   {
     "httpProxy": "http://172.17.0.1:10809", #172.17.0.1是指宿主机的虚拟IP, 这里不会找的看下面的解释
     "httpsProxy": "http://172.17.0.1:10809",
     "noProxy": "*.test.example.com,.example2.com,127.0.0.0/8" # 看需要设置
   }
 }
}' >> ~/.docker/config.json

宿主机的IP就是docker0网卡的inet, 可以ifconfig查看, 也可以执行下面的命令查看

1
ifconfig eth0|sed -n 2p|awk  '{ print $2 }'

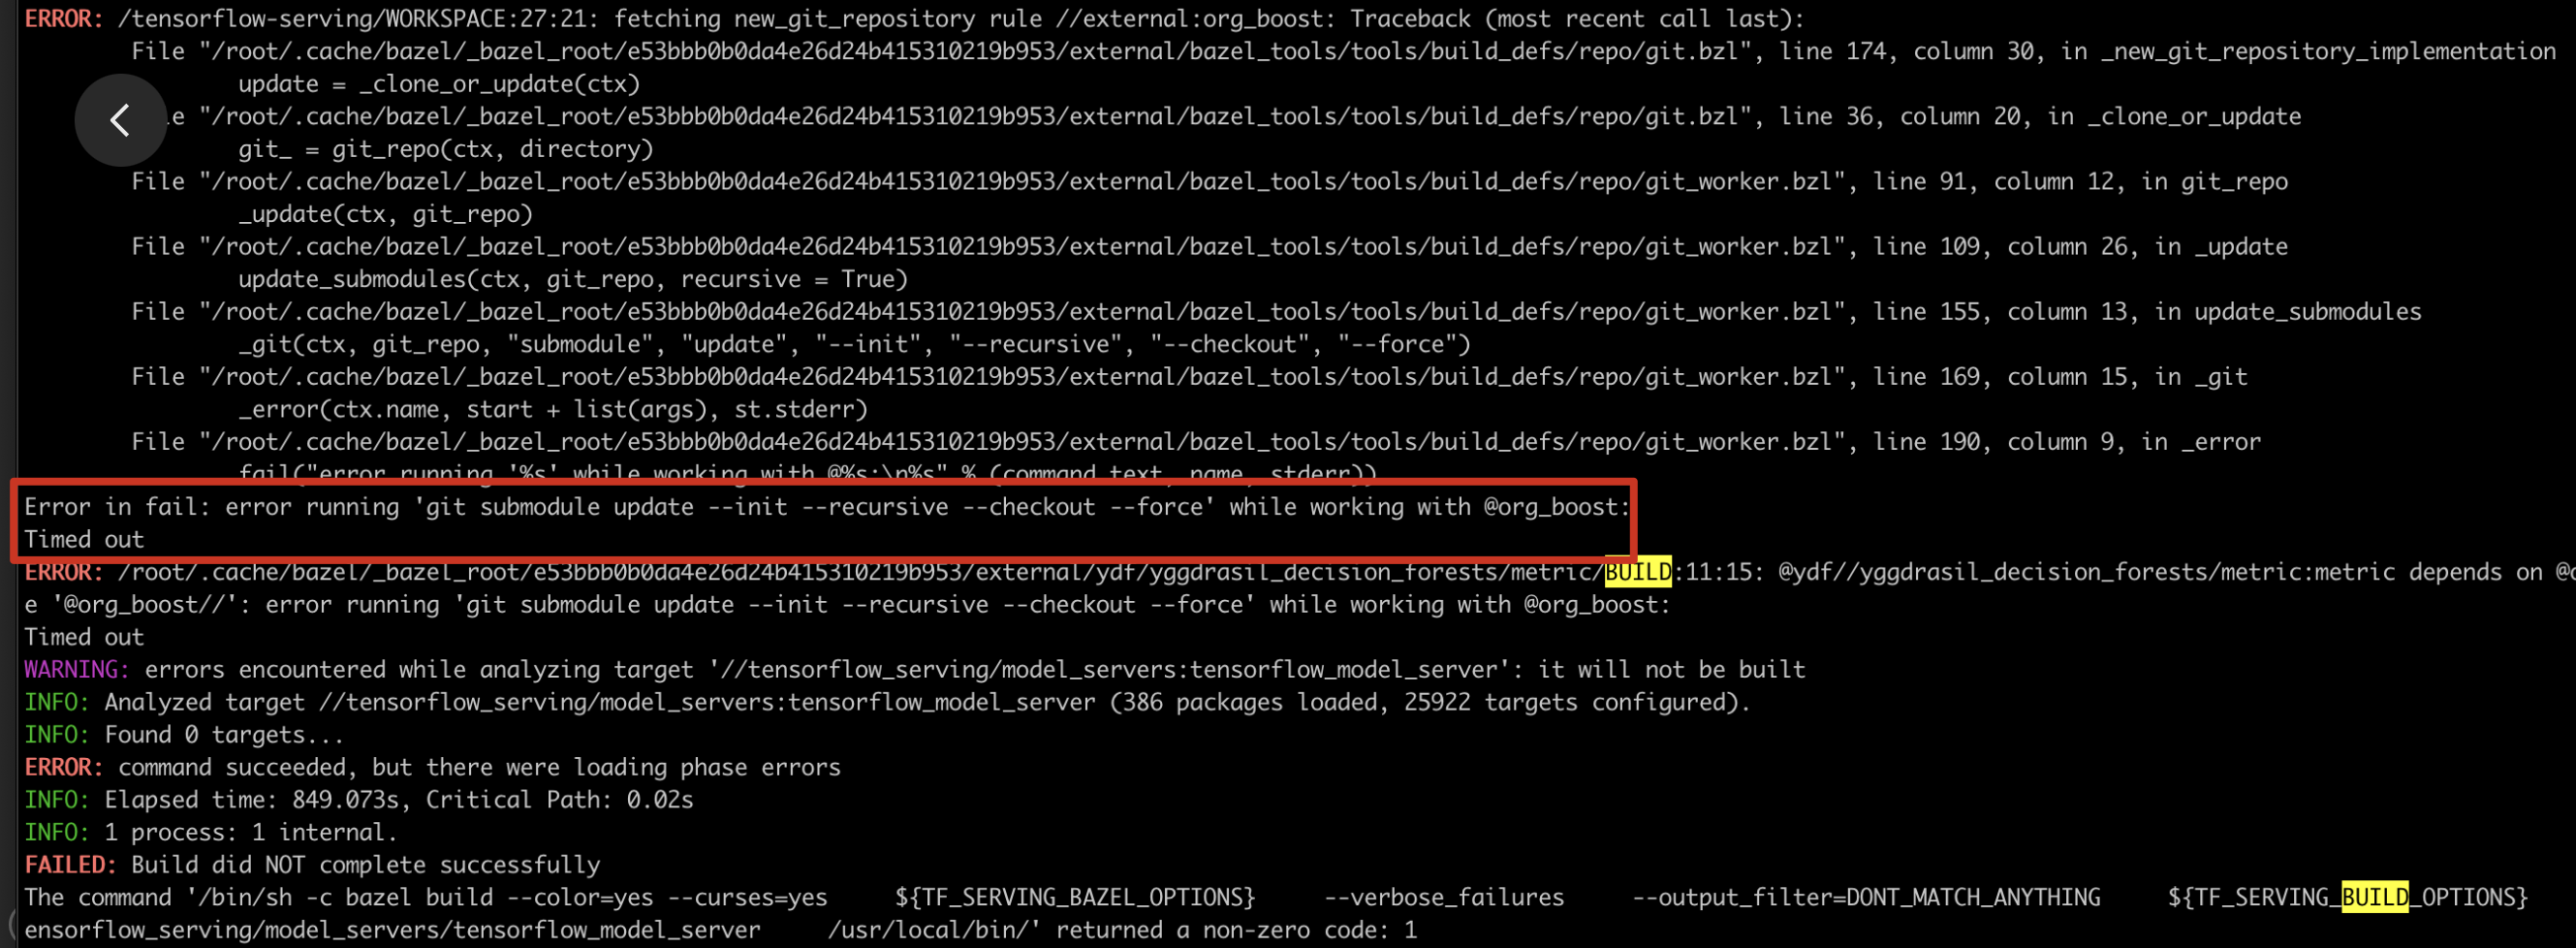
如果在Dockerfile中有依赖需要git pull或者git submodule超时了,如图:

https://s2.loli.net/2022/11/07/Vc61gUIHEbTjwJW.png
docker build git error

在Dockerfile中添加

1
RUN git config --global https.proxy https://172.17.0.1:10809